


Building a Virtualized Testbed on the Cheap – Part V: Configure ESXi

by Andrew Garcia
ESXi Console 1
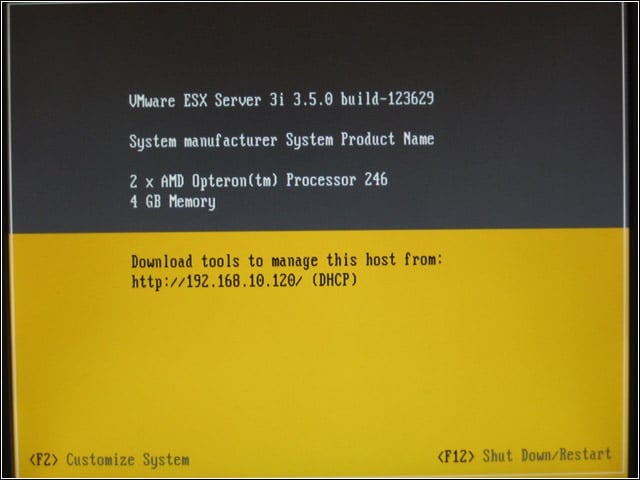
With the ESXi stick inserted, boot virtualization host. Make sure BIOS can boot from the USB device. This is the screen that will appear with a successful boot.
ESXi Console 2
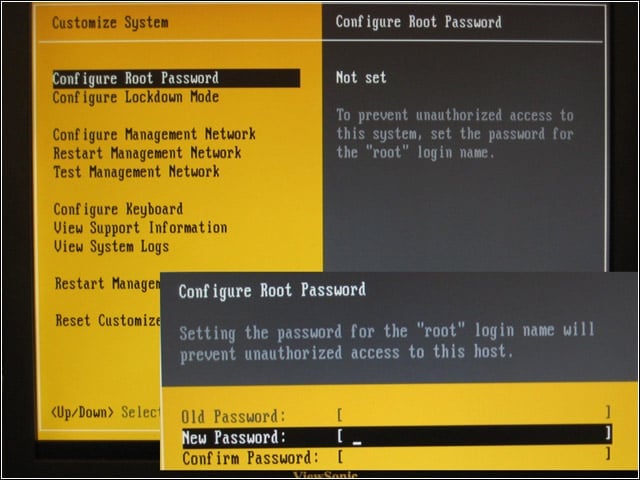
Press
ESXi Console 3
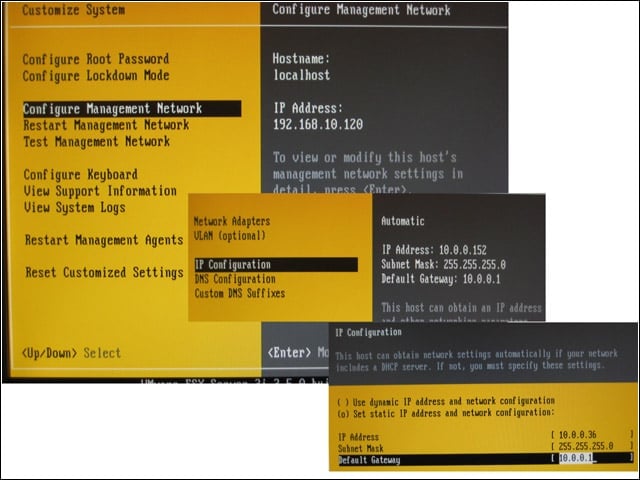
Double check the Management Adapter address set on the same network as the management PC. Adjust for DHCP or static addressing as needed. If static, also configure DNS, gateway and hostname.
ESXi Console 4
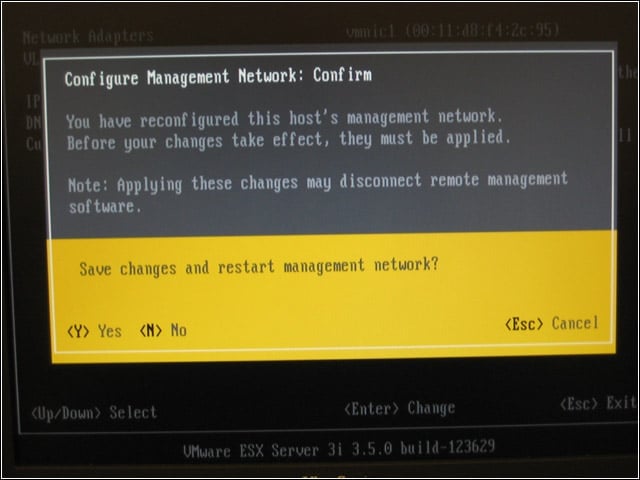
Press
VMware Infrastructure Client
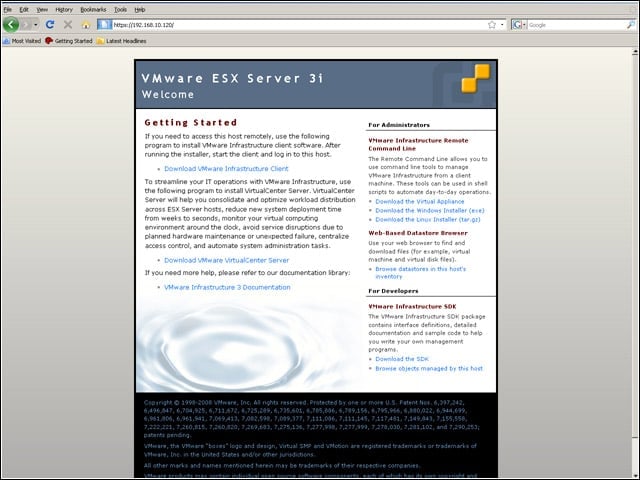
To install the VMware Infrastructure Client on a Windows PC, first download and install .NET 2.0 redistributable from www.microsoft.com. Then surf to your ESX server to download the client install package. Install it, accepting the defaults.
Log-in
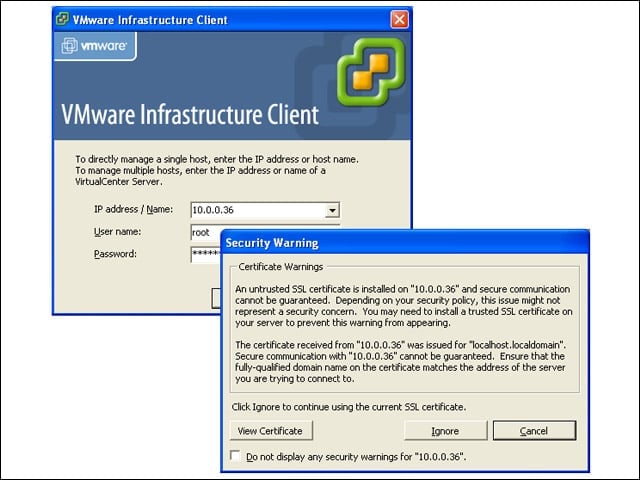
Log in to the ESXi server using the Client. Use the credentials created when setting up the ESXi server from the console.
Add Networking
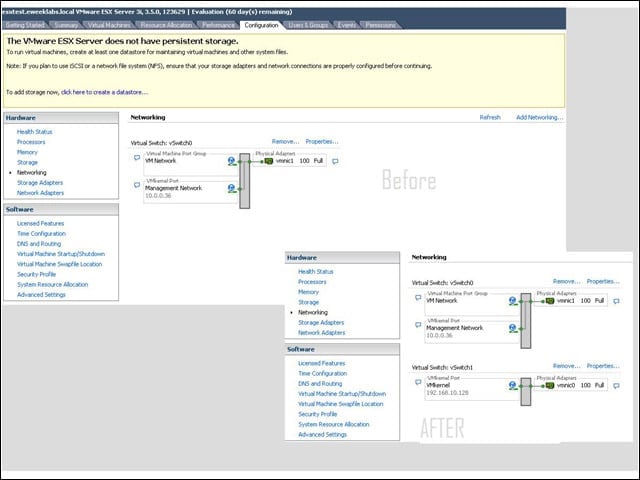
Click Configuration, then Network, then Add Networking to add the virtual network components necessary to talk to the OpenFiler server. Here is a before-and-after shot of the virtual network.
Add VMKernel
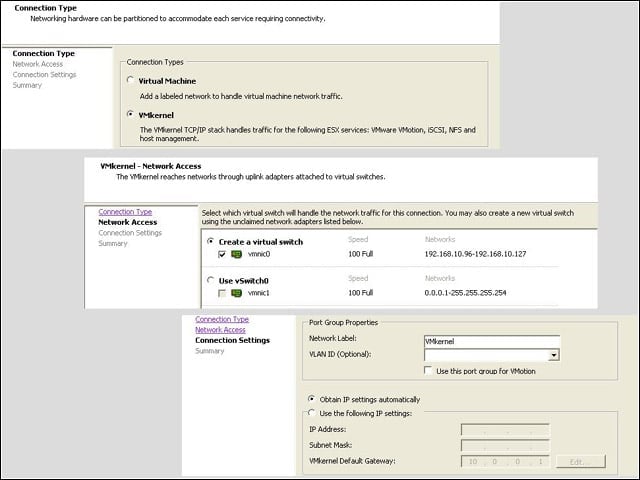
Because we want to separate out the virtual network traffic from the iSCSI traffic to the NAS, we need to add a second network. Add a VMKernel to add a TCPIP stack, then create a new virtual switch that utilizes the second network card. Select static or dynamic addressing as needed – static will be necessary if utilizing specific address filtering in OpenFiler.
Storage Adapters
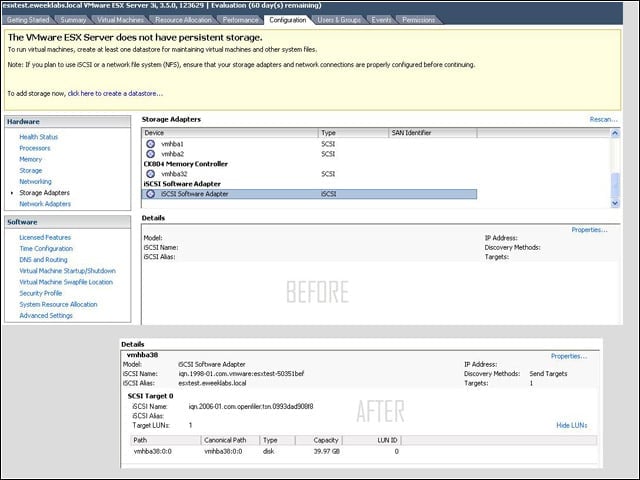
Click Storage Adapters, then scroll down to find the iSCSI Software Adapter. Nothing will be listed under Details until we configure iSCSI. Click Properties to begin.
iSCSI Enable
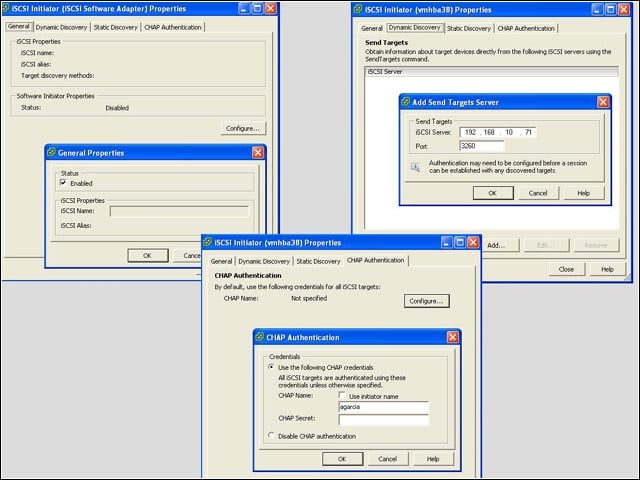
Under the General tab, click Configure. Click Enabled, then OK, to start the service and create an iSCSI name. Under Dynamic Discovery, click Add then input the address of the OpenFiler server. Finally, under CHAP Authentication, enter the CHAP credentials created during OpenFiler setup (unless you skipped authentication security previously). After pressing Close, Rescan to find available storage LUNs.
Create Storage
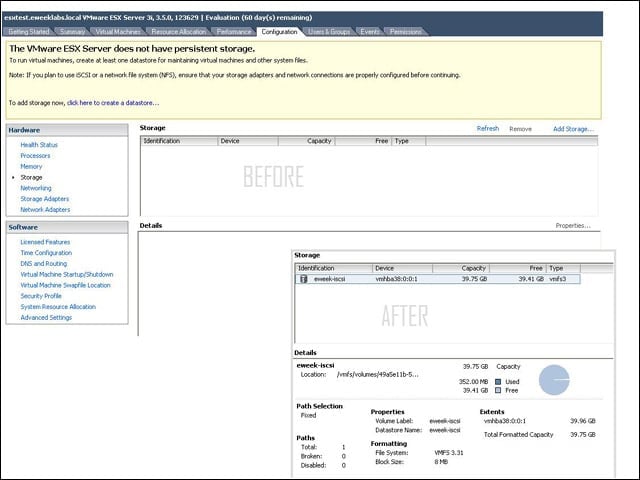
The last step to setting up iSCSI is to create the datastore in ESXi. Click Storage, then Add Storage to add the volume.
Storage Wizard
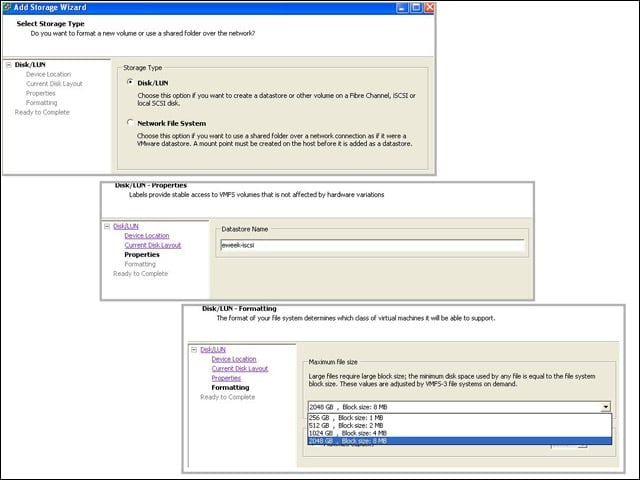
Using the wizard, create a new Disk/LUN. Click OK on Device Location and Current Disk Layout, then create a name for the datastore and select a block size to format with.
Browse Datastore
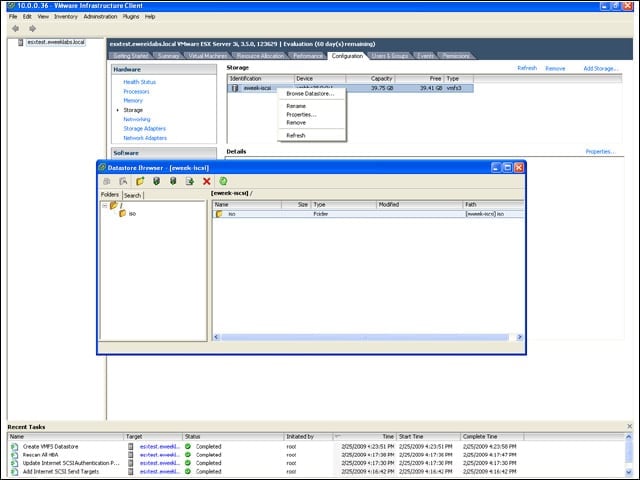
To add files to the datastore for later use, right click on the item just created and select Browse Datastore. Using the Datastore Browser that appears, we can import or export files – operating system ISOs or existing virtual machines – to the datastore.