


- Installing the Eclipse Orion Server
- Ready to Create a New Website
- Managing Project Folders
- Browsing Files Within Folders
- Creating and Adding Files to Folders
- The IDE Highlights Code Syntax
- Creating Site Projects With Basic Templates
- Eclipse Orion Provides Many Settings
- Tracking Plug-In Settings
- Installing Plug-Ins
Installing the Eclipse Orion Server
After installing and running the server, we were presented with a log-in screen that allows us to create a new account or log in.
Ready to Create a New Website
Once we were logged in, this screen appeared, where we can create a sample starter site, a plug-in, or import a site or file.
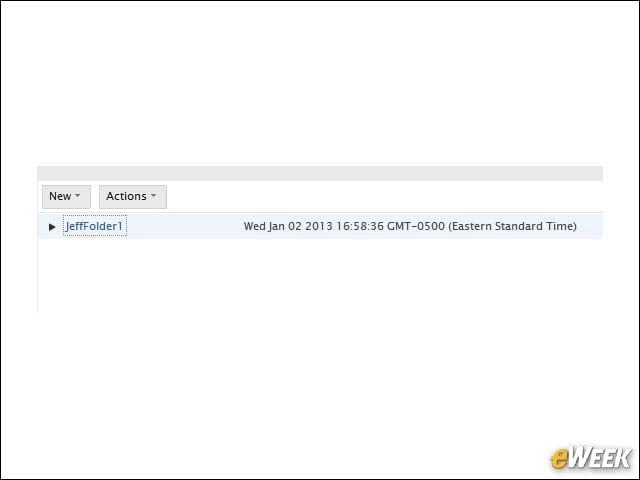
Managing Project Folders
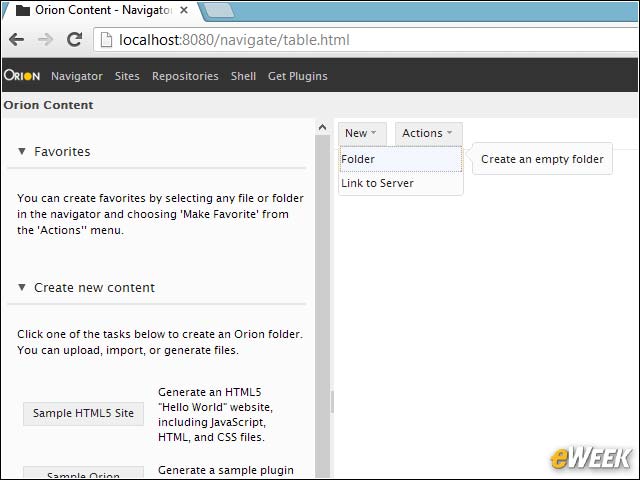
The right side of the screen lets you manage your folders. Here we’re creating a new empty folder.
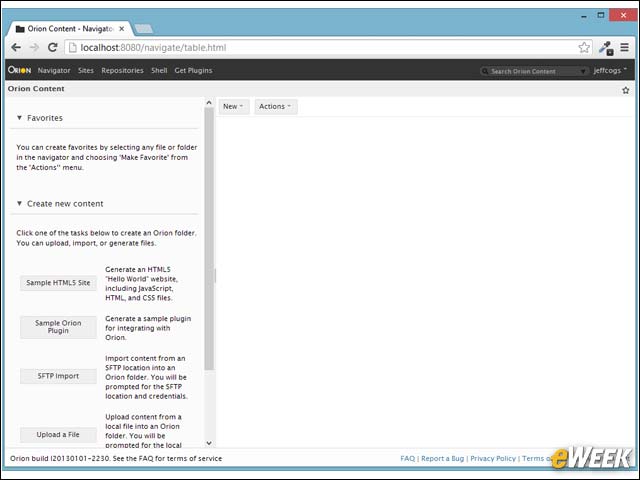
Browsing Files Within Folders
The folder has not been created, yet we can browse the files in it.
Creating and Adding Files to Folders
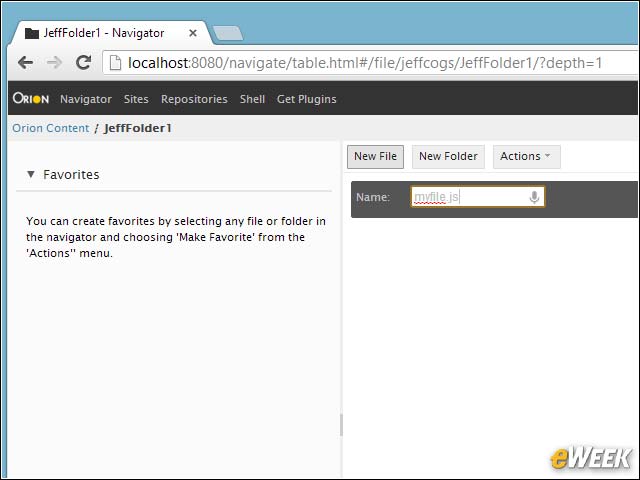
While inside a folder, we created a new JavaScript file called myfile.js.
The IDE Highlights Code Syntax
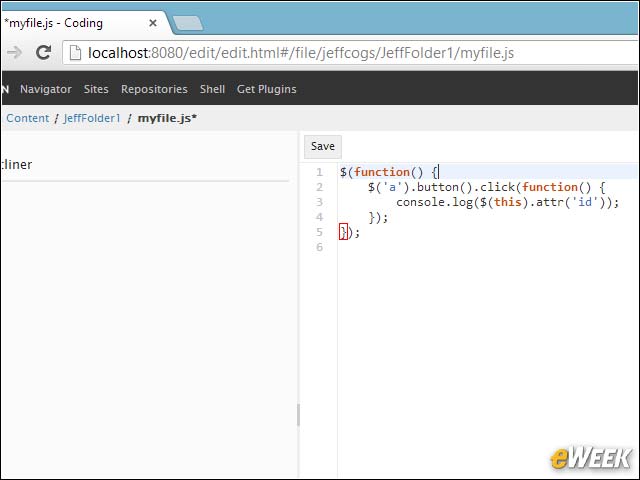
We opened the folder and started creating JavaScript code. Notice the syntax highlighting and the way the editor shows us matching braces.
Creating Site Projects With Basic Templates
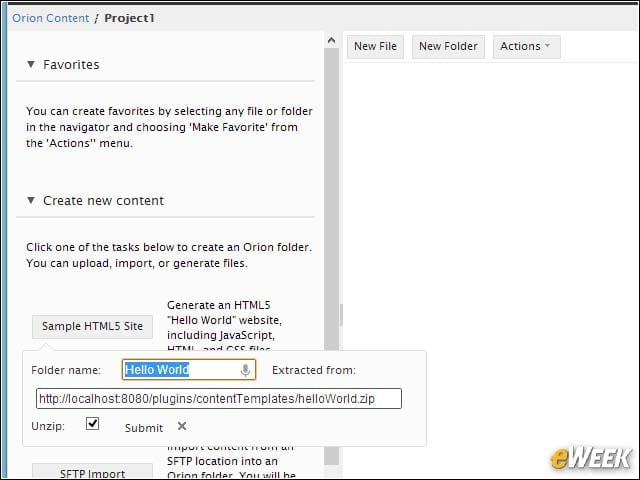
To create a new project, you can start with an existing template. Here, we’re starting a simple HTML5 site that originates from a zip file containing the template.
Eclipse Orion Provides Many Settings
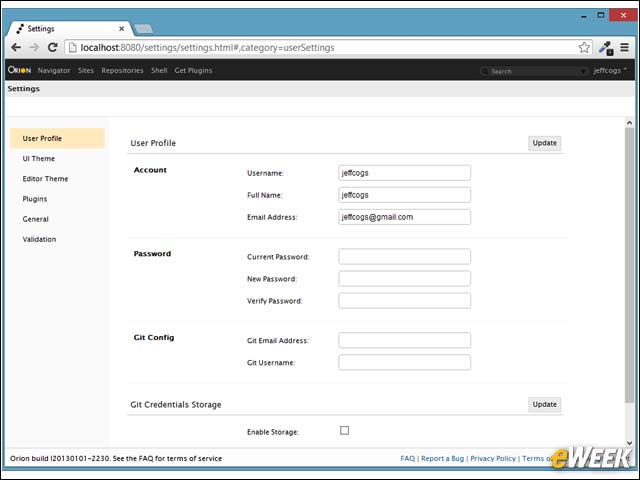
There are many settings available. In this screen, we’re setting up the user configuration. This is also where you configure Git integration for this user.
Tracking Plug-In Settings

The plug-in settings page shows what plug-ins are currently installed and includes configurations for those plug-ins.
Installing Plug-Ins

To install new plug-ins, you can put in a plug-in URL into the bar. When you install a plug-in from a separate plug-in page, it takes you to this page with the URL filled in.