


- eWEEK Labs Walk-Through: Universal Imaging Utility 3.0
- eWEEK Labs Walk-Through: Universal Imaging Utility 3.0 – Starting UIU 3.0
- eWEEK Labs Walk-Through: Universal Imaging Utility 3.0 – Welcome to UIU 3.0
- eWEEK Labs Walk-Through: Universal Imaging Utility 3.0 – Backup
- eWEEK Labs Walk-Through: Universal Imaging Utility 3.0 – Browse to UIU Updates
- eWEEK Labs Walk-Through: Universal Imaging Utility 3.0 – Check for UIU Updates
- eWEEK Labs Walk-Through: Universal Imaging Utility 3.0 – Prepare SCSI Drivers
- eWEEK Labs Walk-Through: Universal Imaging Utility 3.0 – Configure Sysprep
- eWEEK Labs Walk-Through: Universal Imaging Utility 3.0 – Configure Sysprep, Part 2
- eWEEK Labs Walk-Through: Universal Imaging Utility 3.0 – Configure Sysprep, Part 3
- eWEEK Labs Walk-Through: Universal Imaging Utility 3.0 – Configure Sysprep, Part 4
- eWEEK Labs Walk-Through: Universal Imaging Utility 3.0 – Configure Sysprep, Part 5
- eWEEK Labs Walk-Through: Universal Imaging Utility 3.0 – Advanced Options
- eWEEK Labs Walk-Through: Universal Imaging Utility 3.0 – Successful Completion
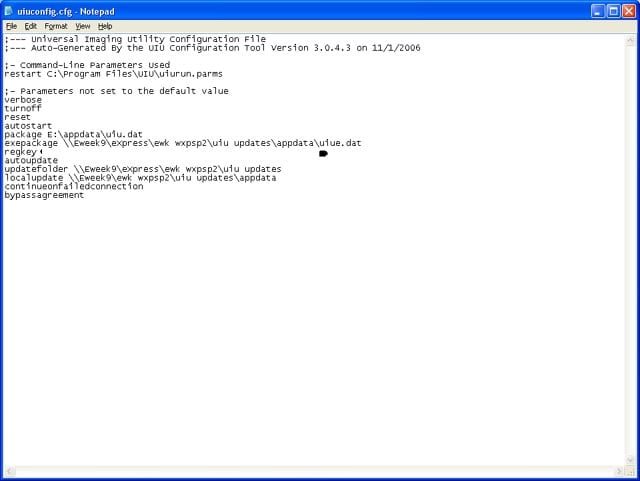
eWEEK Labs Walk-Through: Universal Imaging Utility 3.0
UIU automatically generated command-line parameters to make subsequent installations more convenient.
eWEEK Labs Walk-Through: Universal Imaging Utility 3.0 – Starting UIU 3.0

UIU 3.0 start-up offers convenient ways to download necessary files, including the Sysprep utility from Microsoft.
eWEEK Labs Walk-Through: Universal Imaging Utility 3.0 – Welcome to UIU 3.0

The power of one button starts the process of preparing a single image for many machines.
eWEEK Labs Walk-Through: Universal Imaging Utility 3.0 – Backup

We followed UIUs advice and made backup images of the reference system.
eWEEK Labs Walk-Through: Universal Imaging Utility 3.0 – Browse to UIU Updates

UIU maker Big Bang is constantly adding updated PnP driver data that we downloaded to our image deployment server, in this case from Altiris.
eWEEK Labs Walk-Through: Universal Imaging Utility 3.0 – Check for UIU Updates

We had already downloaded the latest updates (see previous slide), so we skipped this step.
eWEEK Labs Walk-Through: Universal Imaging Utility 3.0 – Prepare SCSI Drivers

We didnt need SCSI driver support in our environment so we skipped this step, heeding the UIU warning that adding support for these devices would add unnecessary time to our subsequent imaging jobs.
eWEEK Labs Walk-Through: Universal Imaging Utility 3.0 – Configure Sysprep

We used the sysprep.exe and setupcl.exe that came with our volume license version of Windows XP with Service Pack 2.
eWEEK Labs Walk-Through: Universal Imaging Utility 3.0 – Configure Sysprep, Part 2

We provided user information for our machines and directed UIU to give each machine a unique computer name.
eWEEK Labs Walk-Through: Universal Imaging Utility 3.0 – Configure Sysprep, Part 3

We directed UIU to use Sysprep to put our newly imaged machines in a workgroup.
eWEEK Labs Walk-Through: Universal Imaging Utility 3.0 – Configure Sysprep, Part 4

We provided our volume license key so that it wouldnt be requested during the Windows installation process.
eWEEK Labs Walk-Through: Universal Imaging Utility 3.0 – Configure Sysprep, Part 5

UIU handled setting various time and display options.
eWEEK Labs Walk-Through: Universal Imaging Utility 3.0 – Advanced Options

We used the default settings provided by UIU in the advanced options settings.
eWEEK Labs Walk-Through: Universal Imaging Utility 3.0 – Successful Completion

UIU completed the rest of the image preparation steps and closed down our reference system at the end of the process.